How to Layer for Your Winter Hike

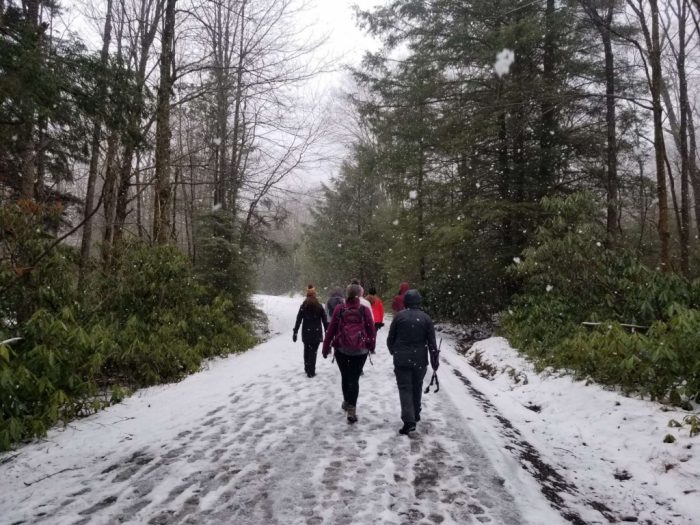
Winter has finally arrived and so has the hot cocoa, wool sweaters, and snuggling under the blankets indoors. Wait, indoors? That doesn’t sound right. We’re Explorer Chicks! Just because it’s cold outside, doesn’t mean your outdoor hiking and adventures need to go into hibernation. Embark on your next winter day hike by dressing in layers that will keep you warm, dry, and cruising on your favorite trails.
Your ultimate goal with hiking in winter temperatures is to not sweat. Sounds a little bizarre to have to worry about sweating in the winter, right? Who in the world can even break a sweat when it’s a balmy 24 outside? You can. Give yourself a mile of good hiking on the trails with an increasing heart rate, and it will easily feel like an extra 10 degrees warmer outside. Next thing you know you’re starting to sweat. This sweat then causes your clothes to dampen. Your damp clothes in the cold weather leads to hypothermia. Not good.
The sweating is inevitable, so how do you dress to remain warm, dry, and safe in winter weather? You layer and layer correctly to ensure your safe return to the trail head. The beauty of layering is you can peel off and add layers as your body temperature changes to prevent sweating. This helps keep you dry. As you hike, it is crucial you take the time to adjust your layers staying ahead of damp clothes.
One more thing: no cotton! Cotton absorbs and retains water. Why is this bad? See above! Cotton includes your favorite jeans. Yes, they might look cute, but when it comes to playing safely in the outdoors it’s function over fashion. (Sorry Instagram!)
So let’s break it down!
Base Layer
The base layer is your most important layer since it will be resting directly on your skin. This is the layer that will absorb your hot, sweaty mess and transfer it away from your body to the outer layers. You’ll want to choose between either wool or a synthetic fabric for your base layers. Both of these fabrics will wick away the moisture and dry quickly.
What it looks like: Wool or synthetic wicking underwear and sports bra. For your legs, wool or synthetic long underwear or tights. For your upper body wool or synthetic long sleeve top. Choose the right weight of fabric for your adventure.
Mid Layer
Your mid layer is your insulating layer. This layer works to trap air close to your body. Your natural fabric choices are wool or even down. However, keep in mind down loses its insulating abilities when wet, while wool will still insulate when wet. Synthetic fleece is also a great option and is engineered to keep your warm when wet. For particularly cold weather, wear a heavier fabric or add a second layer.
What it looks like: Generally the mid layer applies to your upper body to keep your core warm. Opt for a long sleeve version of any of the fabrics mentioned above.
Outer Layer
This layer is your protection from the elements. It’s the first line of defense against whatever Mother Nature throws at you. This means you’ll want to choose gear that is both water and wind resistant with good ventilation for the rain, snow, and wind.
What it looks like: The combinations are endless and should be based on the weather and your activity. For you upper body, you could choose a soft shell jacket, a breathable rain jacket, an insulated shell with a built in fleece, or a water resistant puffy. For your legs, choose a denser, water and wind resistant trekking pant with some stretch or your breathable rain pants.
Accessories
Same rules apply to your accessories as they do to your layers. Again, no cotton. Opt for fabrics such as wool, down, or a synthetic. You’ll want socks that dry quickly to regulate your foot temperature more quickly. Don’t forget to pack your hat, insulated gloves, liners if necessary, and a multi-functional buff. If you’re expecting deep snow, then invest in a pair of gaiters. They add an extra layer of defense against wet, snowy conditions. As for your boots, you’ll want a pair that is both insulated and water proof to keep your tootsies warm tromping through the snow.
What winter hiking layers looks like
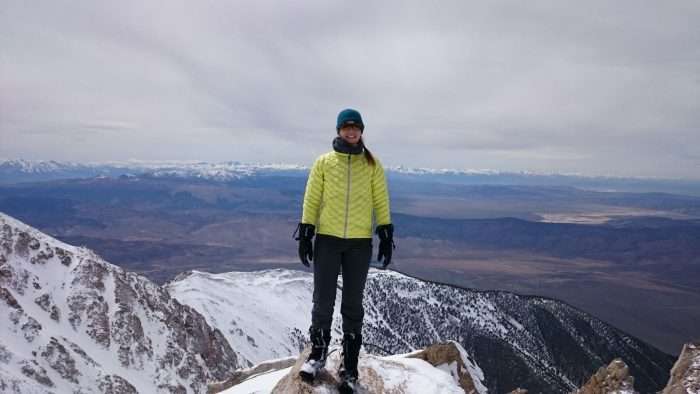
As an example, I’ll outline everything that I’m wearing at the summit of Boundary Peak in Nevada. We tromped through snow that went up to our chest near the summit, wind that kept our cheeks red for days, and temperatures that dropped as our elevation gained. I stayed warm, dry, and cozy for my entire 9 hour hike beginning our trek in just my base layer and adding to it as we ascended the mountain.
Top to Bottom:
- Alpaca wool hat
- Wool Buff
- SmartWool sports bra (base)
- SmartWool zip up mid-weight top (base)
- North Face Thermo Ball puffy jacket (outer)
- Columbia Omni Heat gloves
- SmartWool tights (base)
- REI trekking pants (outer)
- Smartwool Ultra-Light hiking socks
- Keen insulated hiking boots (200 gram insulation)
- Black Diamond Gortex gaiters
- In my pack: Patagonia Rain Jacket (outer), North Face rain pant (outer), Columbia Fleece (mid).