Knee Pain Hiking Downhill: Causes, Prevention, and Exercises
**This post supports our new Explorer Chick Fit program in collaboration with certified training professional, Ulrike Rosser.
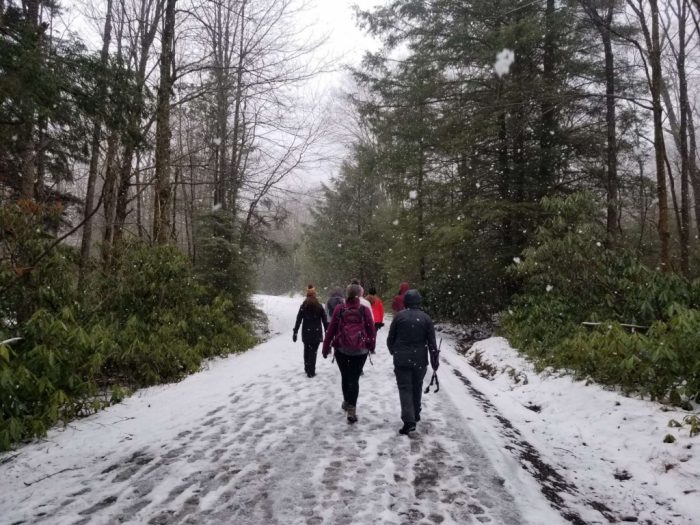
Life is made up of a series of beautiful moments, and most of them are probably hiking! Wildflowers, sun-warmed rocks, deep rich green valleys or sand scrubbed vast desert…no one can deny that heading into nature and leaving all your worries at the trailhead is a fabulous experience.
However, that dreaded hiker’s knee pain? Not so much. If your knee joints start screaming every time you hike downhill, this post is for you!
Don’t interrupt your fresh air and sweet views with painful knees and injuries. Lucky for you, there are things you can do to reduce pain from downhill walking. We’re not here to just accept having a broken body and having to feel pain while doing what we love!
We’ll go over what might be causing your knee pain, ways to prevent that pain and reduce stress on your knee joints, and four moves for your lower body to protect those knees.
What Causes Knee Pain Walking Downhill?
The main reason your knees hurt when walking downhill is pressure! Compressive forces are bearing down on you, and your knees know it. When going downhill, you’re adding more strain to that knee joint to take on the extra weight from the downhill hiking.
However, there’s lots of other causes that contribute to experiencing knee pain from that added pressure.
These are some of the main contributors to knee pain while going downhill:
- Over-lengthening your muscles: Hyperextending that knee. This means your knee is stretching the opposite way that it should and can cause swelling and instability.
- Weak or imbalanced leg muscles: An old ankle injury on your right side only, or a calf that isn’t playing well with others can put some hikers at higher risk of injury. Your whole body is connected (surprise!) so sometimes one imbalance can cause issues in a different area because it’s trying to overcompensate.
- Weak or tight hips: Your hips might be passing the buck to your knees.
- Shoes Gone Bad: Make sure your hiking shoes fit correctly and shouldn’t have been retired in the last music craze or that one time you had bangs. Your hiking boots are SO important to supporting and cushioning your step, which can reduce the compressive force on your knees.
- Overall strength needs help: Lack of consistent total body conditioning and strength training can translate to pain when hiking. If your muscles are struggling to support you on the hills, they may be passing it off to joints that aren’t meant to take that much force.
You Might Also Like: How to Train for Hiking: 5 Moves to Get You into Hiking Shape
Ways to Prevent Knee Pain When Hiking Downhill
You don’t have to let that angry runner’s knee dictate what you can do on the hiking trail! Here’s some tips to tackle that hike pain-free.
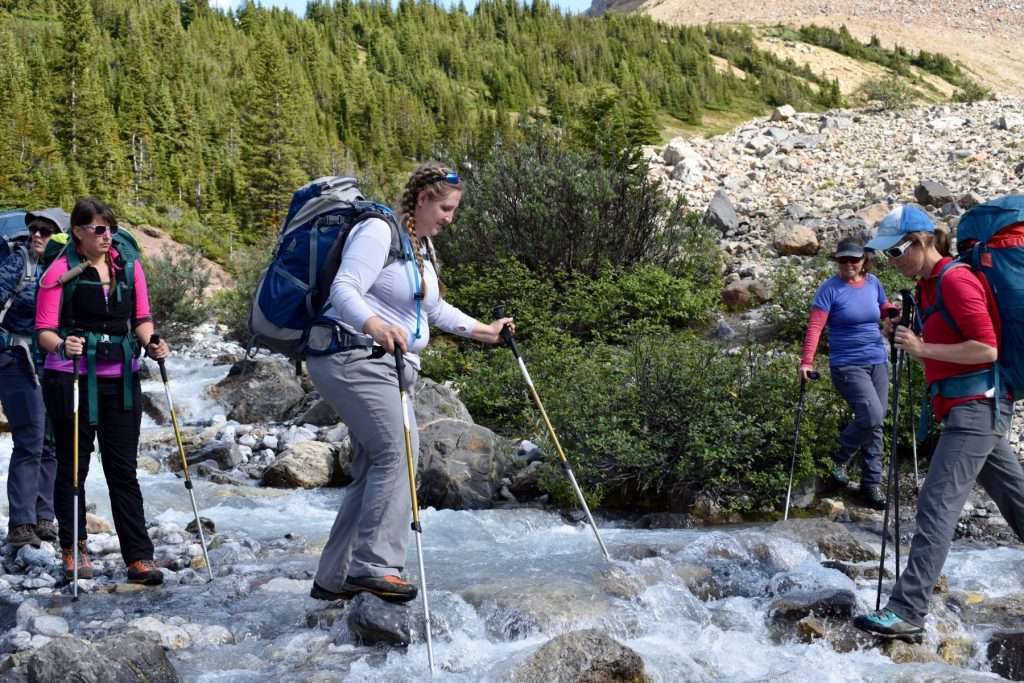
1. Use Hiking Poles
Hiking poles or trekking poles can bring up strong opinions in hikers. However, whether you adore them or avoid them, you should definitely consider them if you get knee pain going downhill. A good set of hiking poles helps prevent hyperextension of the knees when heading downhill on the trail.
Hiking poles also help shift some of the weight from your legs to your upper body and core. This eases some of the pressure on the knees and helps distribute some of the work to your entire body as you climb those mountains.
2. Strengthen Surrounding Muscles
Your knees will start talking to you when your butt isn’t! Make sure your weekly training program contains lots of movements to support your knee, including extra booty work (check out our moves below, or join us for EC Fit, an 8 week program for better hikes all-around).
Stronger glutes and stronger hips can help tremendously in mitigating knee pain, but don’t discount stability work. A yoga class with a few balancing poses can help build up stability in your legs. Hikers with weak or imbalanced leg muscles run a much higher risk of knee pain or injury while hiking downhill. Balancing work can offset that risk, and bonus–you can work on your zen too.
3. Knee Brace
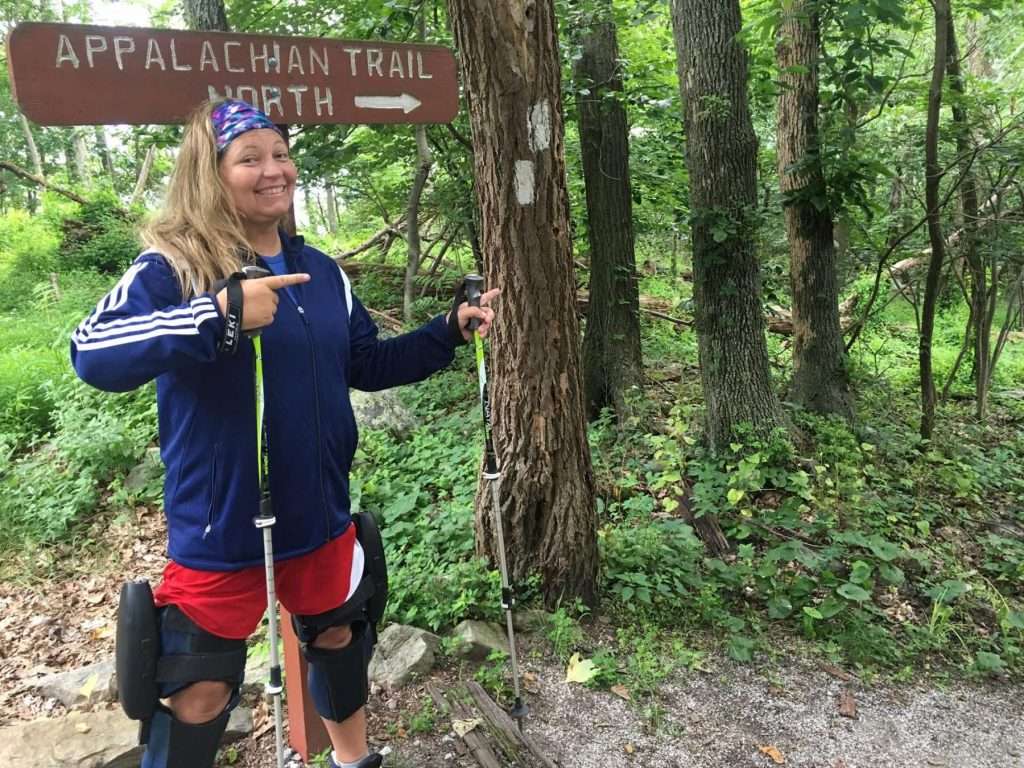
External support, like tape or a knee brace, can be great, especially if it’s doctor recommended. If you’re wearing a knee brace due to a recent injury or if that brace isn’t addressing what may be a bigger problem, please also seek medical care.
Getting medical help managing knee pain from a bigger issue or taking a little extra time to heal a knee injury is only going to make the hike that much sweeter when you are in the best possible shape to be there.
4. Small Steps
Small quick steps are a win here. Over-striding downhill is a big no. It increases pressure and strain on those knees, risks hyperextension, and talk about feeling off-balance! Taking small steps that steadily keep on moving makes downhill hiking a lot more fun. Even if it means you go a bit slower than you’d like, a slow hike down without pain is better than a quick downhill that hurts in the moment or later that day.
You want to keep your torso from falling forward or backwards; an easy way to track this is to keep shoulders over ribcage, and ribcage over your hips. This will help your balance too as you shift from one leg to the other.
Think of your foot staying strong and wide below you. Stable, grounded feet will help you adapt to uneven terrain. Try to avoid shifting into the balls of your feet where you will seriously strain the strongest of knees…or go tumbling.
4 Moves To Protect Your Knees When Hiking Downhill
Here’s some of my favorite poses to gear up for those big downhill goals!
1. Tree Pose
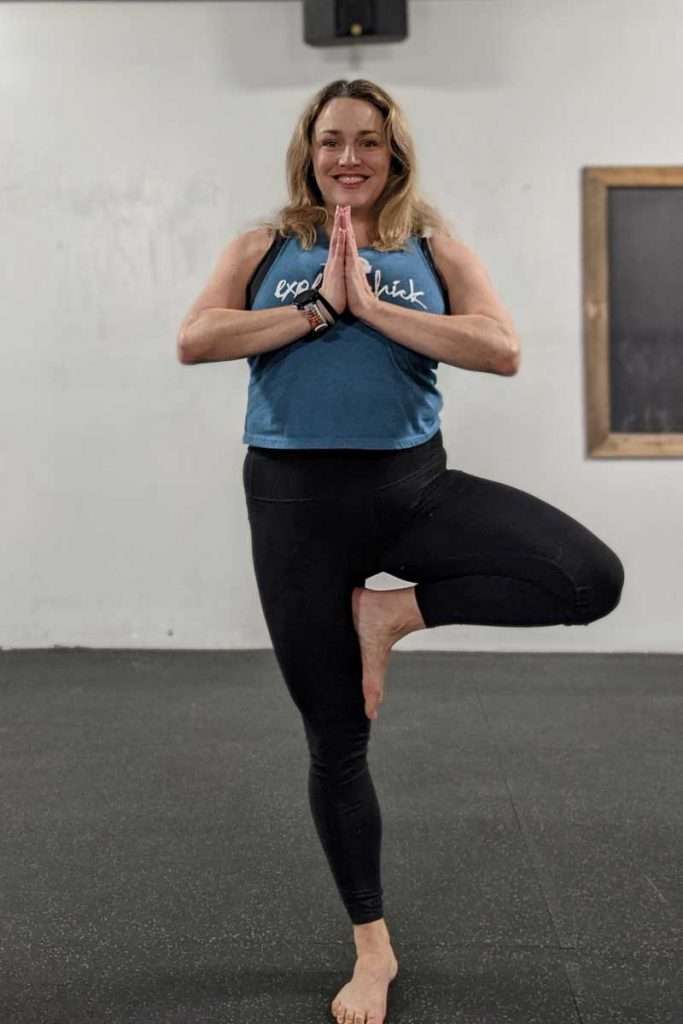
A yoga-inspired tree pose will build your balance, and the ligaments and tendons that make for a happy foot and leg. Best for strengthening your core, glutes, back, and legs.
Instructions:
- Start barefoot, and make sure you’ve got a wall, kitchen counter, or chair back nearby if you think your balance needs assistance.
- Stand tall with your feet together, shoulders rolled back, and ribcage over your hips.
- Start by coming to the ball of your right foot, testing out putting all your weight into your left foot.
- Turn your right toes and right knee out to the right.
- Lift your right foot to rest against your left calf, or you can use your right hand to place your right foot up high against your left thigh. Avoid the left knee–we’re here to avoid knee pain, and putting pressure directly on the knee with your foot isn’t the best idea.
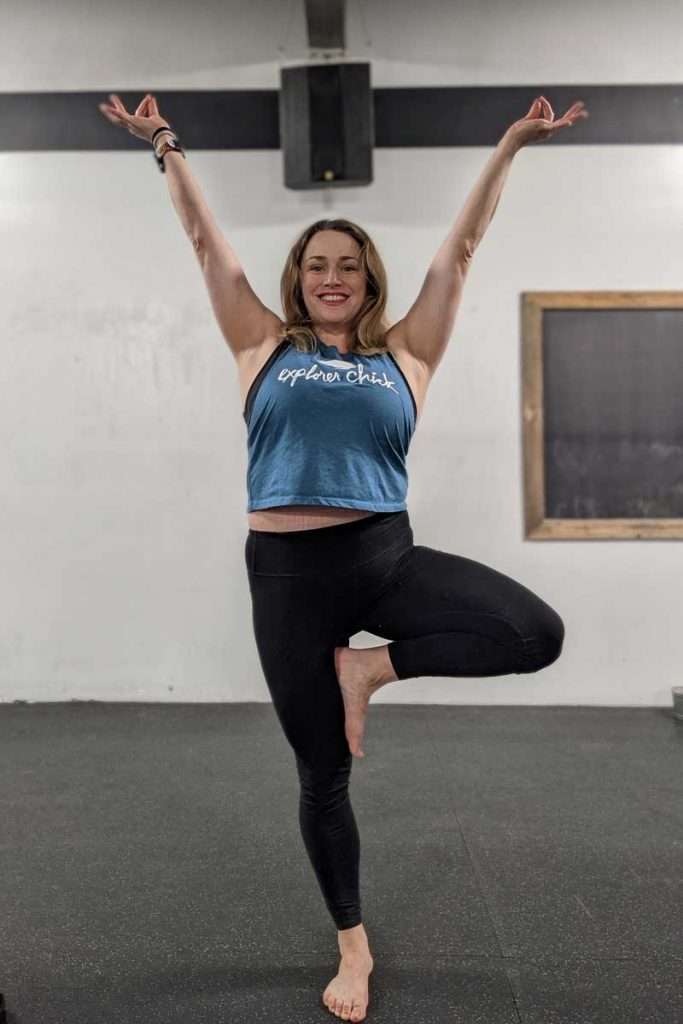
- Root your left foot into the earth, and bring your palms to prayer position at your heart, or lift them overhead like tree branches for more balance work.
- Keep your right hip opening and hip points even.
- Stay here for a few breaths, and then do it all on the second side.
Tips:
- Think of open hips, open heart, and strong roots keeping you from falling over! Don’t be afraid of using a wall for help when you need.
2. Warrior 3
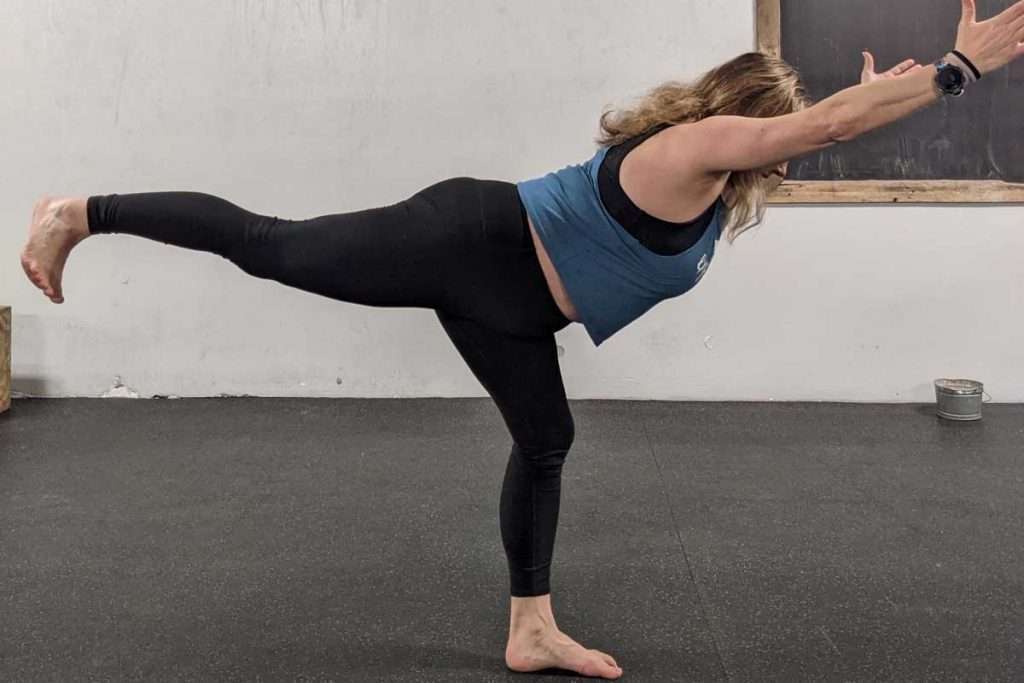
This yoga pose works your balance, breathing, legs, core, and back. Best for strengthening the stabilizing muscles in your feet, ankles, upper body, and legs.
Instructions:
- Start barefoot with a wall, chair, or sofa arm nearby for help, but make sure you have lots of room to expand in this area.
- Begin by coming up to the balls of your right foot to start easing balance into your left side.
- Root your left foot strongly into the ground, making sure not to lock your knee out at any point.
- Lift your right foot off the ground, flexing your foot and bring your chest towards the floor, stopping at parallel with your hips.
- You can choose different variations of Warrior 3 by where you put your hands:
- One hand on a balancing surface
- Both palms at heart center, in prayer position
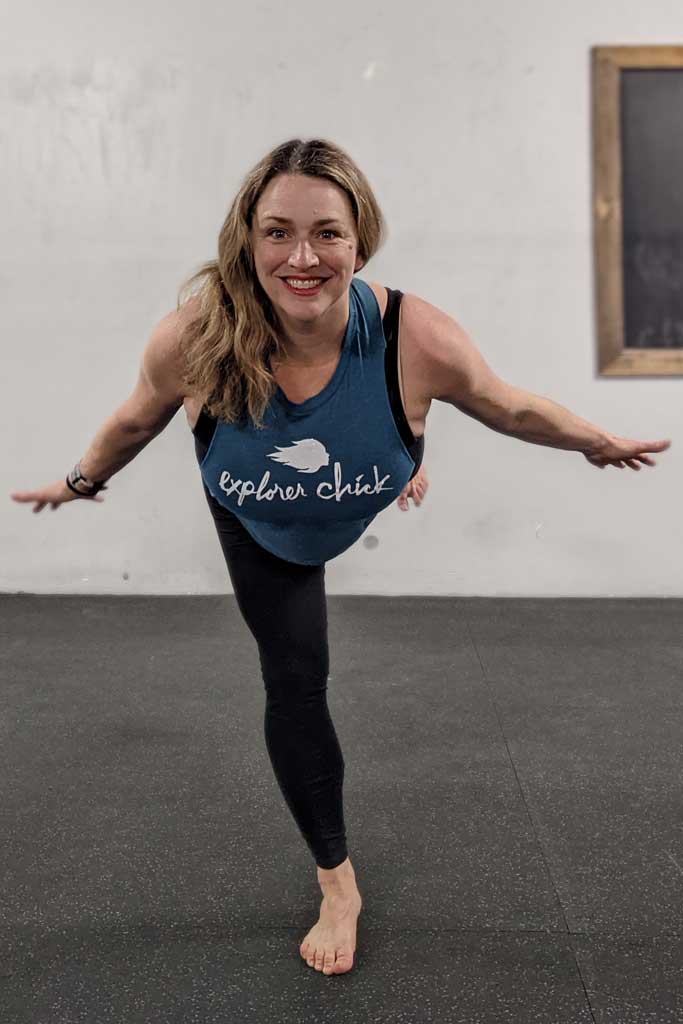
- Palms next to your hips, facing down, in “airplane arms.”
- Most advanced: hands come out to stretch in front of you, palms facing each other
- Stay here (and remember to breathe) for 20 to 30 seconds, then switch sides.
Tips
- Strong feet, strong legs, and strong core will make this exercise shine.
- When your leg is up, make sure your toes face the ground, not away.
3. Standing Knee Adduction

This seemingly simple move zeroes in on areas known for causing knee pain. Best for strengthening inner thighs, hips, outer glutes, and lower abs. Add a mini-band for maximum burn, but this will get the job done easily without one just using body weight.
Instructions:
- Start standing with feet around hip distance apart, keeping the edges of your feet as wide as the edges of your shoulders.
- Bend slightly at your waist, counterbalancing with your glutes behind you.
- Bend your knees slightly so that you aren’t locking out your knees.
- Using your inner thigh and outer glute, pull your right knee towards your center line gently, and then return it back to neutral.
- Do this 5 times on the right, then 5 times on the left, and then 5 times with both.
- Repeat 3-5 times.
Tips:
- Add a mini-band for increased resistance.
- Be careful that you feel this in your glutes and thighs, and not your knee!
4. Clamshell

This versatile exercise challenges every glute it finds. Best for strengthening glutes, obliques and thighs, and addressing muscle imbalances between each side.
Instructions:
- Take it to the floor lying on your right side, with your right elbow underneath your right shoulder. Knees should be bent in front of you, with feet in line with your hips.
- Take time to press your forearm strongly into the ground, to keep from collapsing into the shoulder.
- Keep your feet flexed.
- Open your left knee towards the sky, keeping your feet together.
- Close your left knee back to meet the right.
- Do this 10 times, then roll over to the other side.
- 10 rounds on each side. Repeat 3-6 times.
Tips:
- Add a mini-band around your thighs for extra resistance.
- You may notice one glute is stronger than the other here! Pay careful attention to make sure that side is getting the full range of motion and is working as hard as the other side.
Train for Hiking with the Gals!
One of the best ways to train for successful downhill hiking is to do these moves in a group, with lots of motivation and community along the way!
Not sure where to find the right group? You’re in luck! → for the FIRST TIME EVER, this February, Explorer Chick is rolling out Explorer Chick Fit: our custom 8-week program with weekly programming, live classes, private Facebook groups, and our signature supportive community.
Registration not open anymore? Sign up for Explorer Chick emails to get notified when you can sign up next!

Meet the Writer

Ulrike Rosser
Ulrike is an avid hiker, mountain biker, and outdoors enthusiast. In her free time, she trains personal clients and group fitness classes to the end goal of being fit enough to truly enjoy and appreciate a full, adventurous life.
Ulrike is TRX certified, Kettlebell certified, a NASM Certified Personal Trainer and Group Fitness Instructor, and a 200hr Registered Yoga Teacher through the Yoga Alliance. More importantly, she’s also certified by a few decades of life, which means she knows the pursuit for a perfect body (like what is that anyway???) is nowhere as important as a badass body that can climb mountains, throw on a pack (or pick up a kid), and meet all of life’s challenges with strength and capacity.
Read More Training Tips
- Training to Hike the Grand Canyon: Gear, Tips, and Exercises
- Knee Pain Hiking Downhill: Causes, Prevention, and Exercises
- Angels Landing: The Scariest Hike You’ll Never Forget
- How to Train for Hiking: 5 Moves to Get You into Hiking Shape
- Training for Half Dome and Half Dome Cables
- How to Choose the Best Hiking Boots for Women
- How to Start Backpacking: 6 Things You MUST Know
- How to Train for Hiking and Backpacking Trips