How to Start Backpacking: 6 Things You MUST Know
This article is a supplement to our Backpacking for Beginners Live Virtual Workshop.
You can always spot the unprepared beginner backpacker: They’re either prancing down the trail in flip flops with some candy bars and not much else, or so loaded down with backpacking gear that they look like a peddler straight out of a fairytale circa 1673.
Although a noob you yourself may be, if you’re reading this you’re one smart cookie. (We won’t share your secret.)
Luckily, getting out into Mother Nature, whether walking along the GORGEOUS Pacific Crest Trail or the colorful Appalachian Trail, can be done with just the backpacking essentials and some well trained legs.
And even more luckily, we are kinda experts in all things camping, hiking, and backpacking. We’ll show you how to start backpacking, starting with planning for your first trip.
1. Start training for your backpacking adventure

Look, you can get away with a lot on a day hike, but the moment you pack all of your camping gear onto your back, you’re going to need a lot more than some good hiking boots. The pack weight adds up quickly and paired with a steep incline and high altitudes, and you’ve got yourself a pretty difficult task ahead.
The main backpacking skills you’ll need to develop are the ability to pack lightly and to carry weight. One way to help prepare yourself for some backcountry camping is first by investing in some ultralight gear. Whatever camping gear you already have, there is probably an ultralight backpacking version of it.
If you’re up for it, we recommend starting with a backpacking tent. Tents can be the heaviest camping gear to lug around, so it’s an easy way to lighten the load quickly. Another pro tip is to look for a lightweight backpacking stove and a water filter that you can use at any water source you find along the hiking trail.
You can also find a lightweight sleeping pad, like the foldable foam pads, though that will sacrifice your comfort quite a bit. It’s a good idea to start with the backpacking tent, instead.
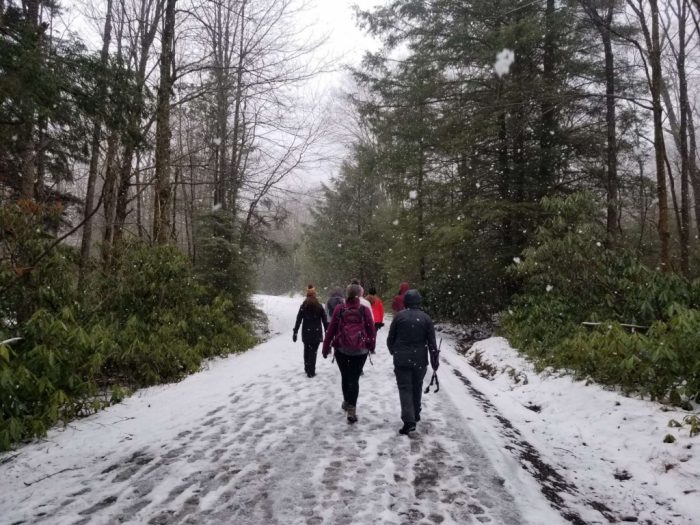
As for your actual physical ability to carry your pack weight along the hiking trail, start by walking as much as possible in your day-to-day life now. And, when possible, walk up an incline (like a day hike) at least once a week.
This will help get your cardio and endurance up for the backpacking trip you have your eyes on.
As for strength, throw in a few squats, lunges, planks to start building strength in your largest muscles. You can also hop into one of our EC Fit Challenges for an 8-week workout regime that is specifically designed to prepare your body for epic backpacking trips.
TRIP SPECIFIC TRAINING GUIDES:
2. Leave your itinerary and emergency contacts in the car
One of the smartest, easiest first steps? Leave your itinerary and emergency contacts in your car at the trailhead. Notate the date and time you head out, how long you plan to be gone, the basic route you want to take, and your desired destination before returning. Also add a few friends and family members and their contact information.
3. Practice Leave No Trace Principles
Leave No Trace is a set of principles that help guide us when we are out communing with Mother Nature. Think of it as the 10 commandments of Planet Earth.
- Principle 1: Plan Ahead and Prepare.
- Principle 2: Travel and Camp on Durable Surfaces.
- Principle 3: Dispose of Waste Properly.
- Principle 4: Leave What You Find.
- Principle 5: Minimize Campfire Impacts.
- Principle 6: Respect Wildlife.
- Principle 7: Be Considerate of Other Visitors.
It is the greatest privilege to be able to dip into Mother Nature the way that we do and without all of our efforts to help preserve her, we could do some serious damage. As a beginner backpacker, it’s super important to know these principles and follow them.


4. Get your shoes sorted
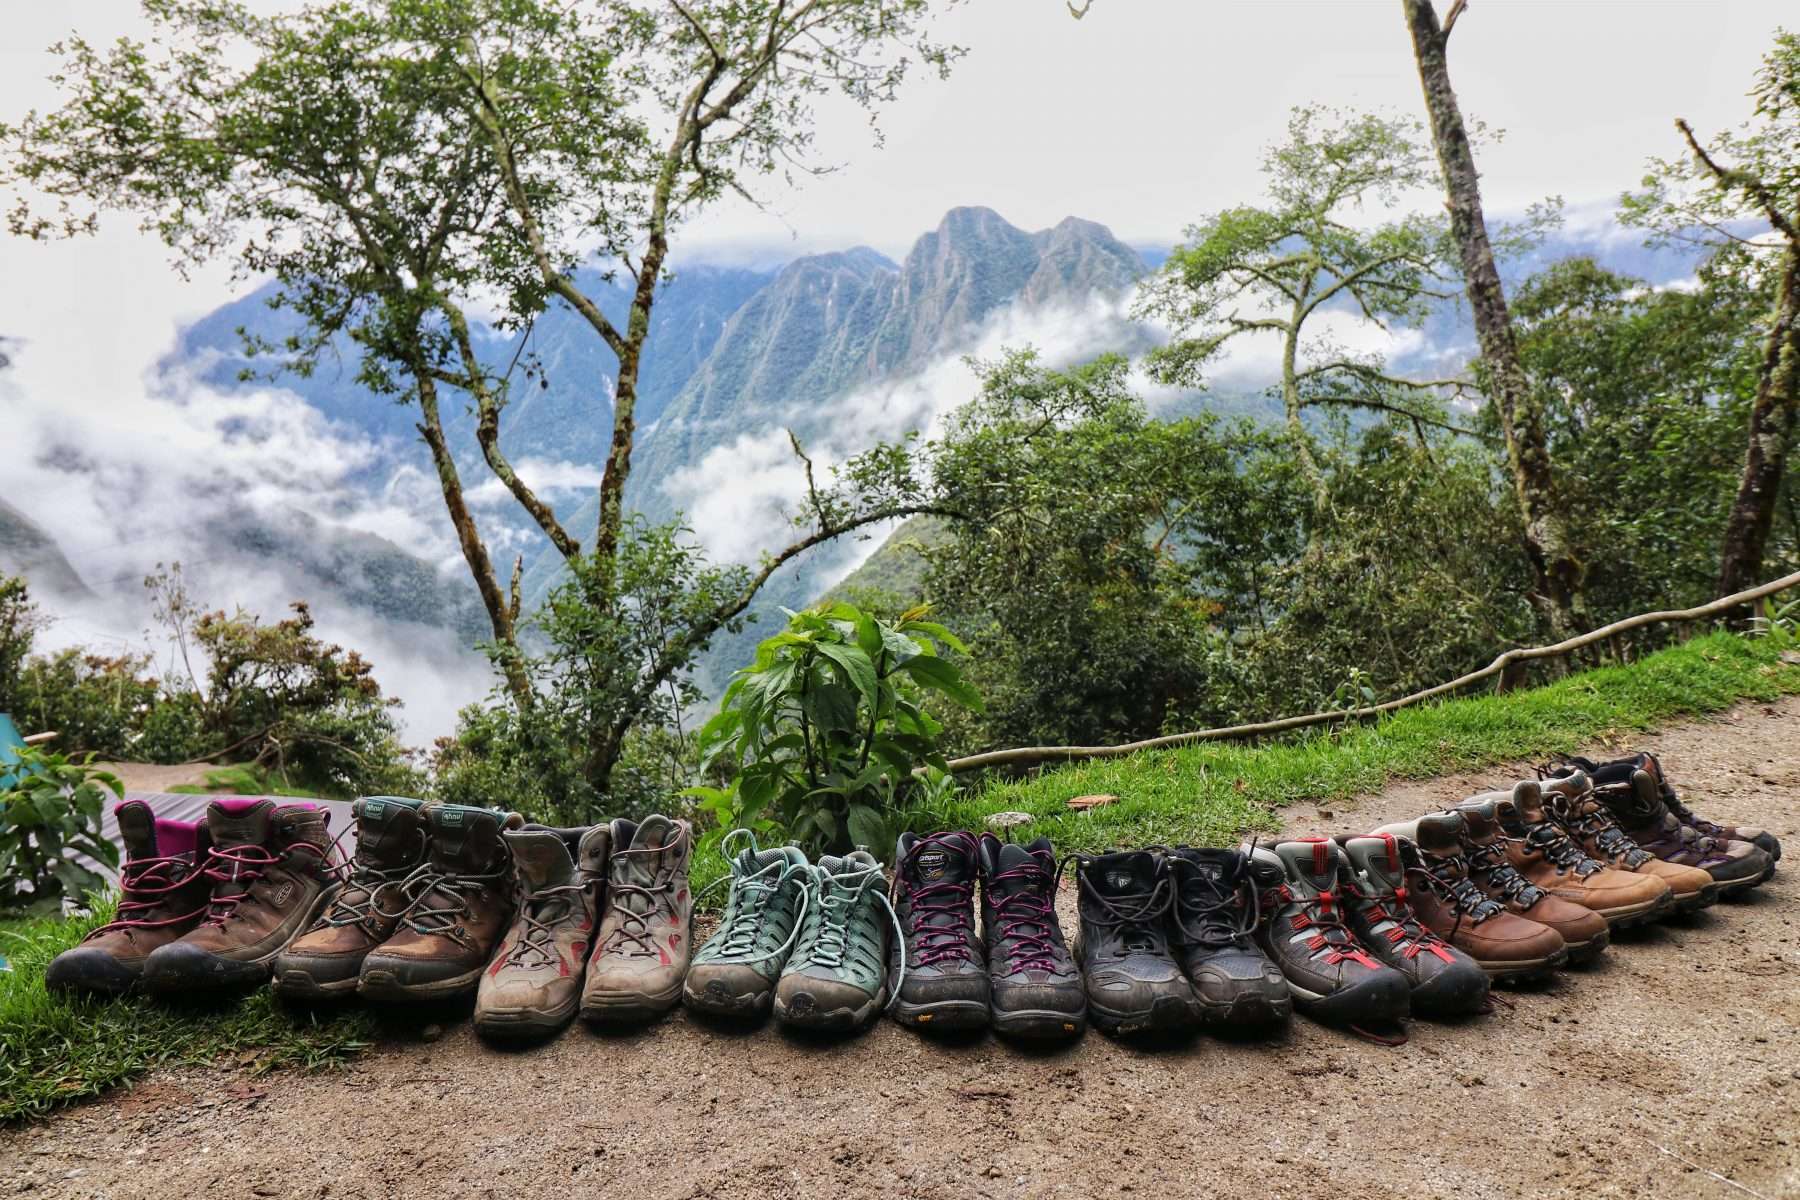
As far as shoes: Remember that scene in Wild when Cheryl took off her shoes because her feet were covered in blisters? (Remember gasping out loud when one slid over the edge?) Be ye not so stupid. Get your new kicks trek-ready ahead of time by following these three steps:
- Get properly fitted for boots or shoes: Everyone’s feet are different, as are the demands of various treks. Take some time to go and physically try on lots of different brands. Don’t be shy about walking around the store and asking lots of questions. A good outfitter will expect and encourage it!
- Spend hours in your boots to break them in: Better to suffer blisters at home than to miss out on a hike due to painful hotspots on your feet.
- Walk on different terrain, in different weather: Train on rough and rugged terrain, not perfectly-paved sidewalks. Find steps, a hill, or the StairMaster and get climbing. (Bonus: Your quads, booty, and calves will thank you.) Train in all types of weather—this means rain!
As for the other gear, read through our list of hiking essentials to get an idea of what else to include in your pack.
5. Pack your backpack correctly
This step can mean the difference between a backpacking trip of agony, or one of ecstasy. It’s a combination of being savvy about how you arrange your gear, and distributing the weight of that gear throughout the pack. You should also be thinking ahead of time and place items you may need at a moment’s notice (a rain jacket) in a more accessible spot rather than something you may need to access once a day (a sleeping bag).
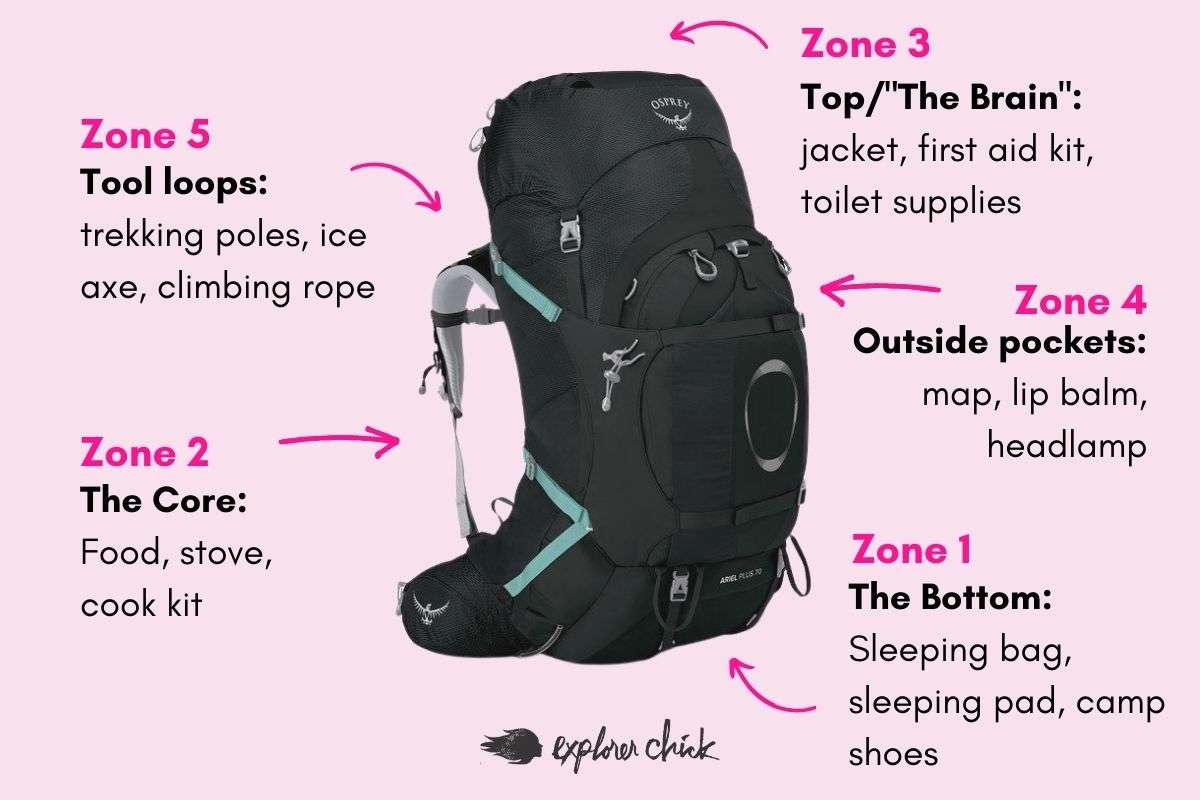
Think of your pack as having five different zones, with certain items going into each. Gear at the bottom will be accessed the least, and will move up from there:
- Zone 1: Bottom – Sleeping bag, sleeping pad, camp shoes
- Zone 2: Core – Food, stove, cook kit
- Zone 3: Top/”The Brain” – jacket, first aid kit, toilet supplies
- Zone 4: Outside pockets – map, lip balm, headlamp
- Zone 5: Tool loops – trekking poles, ice ax, climbing rope
Use soft items (tent, extra clothing) to wrap and cushion bulkier items (stove, cook kit). Depending on how wet it will be where you are camping, you could chuck electronic devices into a small quality and affordable dry bag to keep them safe.
6. Hoist and adjust your backpack
You’ve studied how to begin backpacking, studied your route, got the gear, and managed to cram it all in. Hoist and go, right? Wrong. Without taking the time to properly adjust your pack, your back will be killing you and it won’t be long before you’re regretting this whole crazy scheme. Your pack is going to be heavy, there’s no getting around it. But knowing how to properly adjust and utilizing all the different straps will distribute the weight safely and correctly.
Backpacking Straps
First, begin by loosening all the straps. This will make it easier to adjust once the pack is on your body. Next, lift your backpack off the ground (duh) by using the loop at the top (not by the shoulder straps). Ideally, set it on a higher surface such as a log or picnic table. If there’s nothing convenient around, balance it on your thigh. Next, thread one arm through one of the arm straps, then the other while leaning forward. Ta da! Your backpack is now in its proper place. Then, begin by buckling and adjusting the straps in the following order:
- Waist/hip belt: Clip the waist belt so you feel the bulk of the weight of the pack resting on the top of your hips. (This is the secret to a less-tired back—making sure it’s not doing all the carrying work!) Now adjust the straps until the belt feels snug, but not super-tight.
- Shoulder straps: Lean forward and adjust your shoulder straps. This brings the pack close to your body for a snug fit against your back.
- Stabilizer straps/Load-lifters: These straps are located at the top of your pack, on either side of your neck. Pulling these lifts the pack up and even closer to your back so you aren’t straining your neck and upper back by carrying weight too low.
- Chest strap: Finally, buckle your chest strap so it fits snuggly across your sternum. (Not too tight! You should still be able to breathe all that fresh air you’re about to encounter!) These straps don’t help much with weight load, but they do prevent your shoulder straps from slipping off.
Whew! You did it! Give yourself a pat on the back (pack) and get ready to hit the trail!

Read more about backpacking
- Best Alaska Backpacking Trips for Adventurous Women
- What To Wear Hiking In Hot Weather
- How to Identify Poison Ivy (And How to Treat an Allergic Reaction)
- Going for a Hike? Here’s the Best Hiking Clothes for Women
- Best Mosquito Repellent for Camping, According To Our Guides
- Banff Hikes: 8 Best Hikes in Banff National Park
- How to Find a Hiking Buddy or Backpacking Buddy
- Training to Hike the Grand Canyon: Gear, Tips, and Exercises